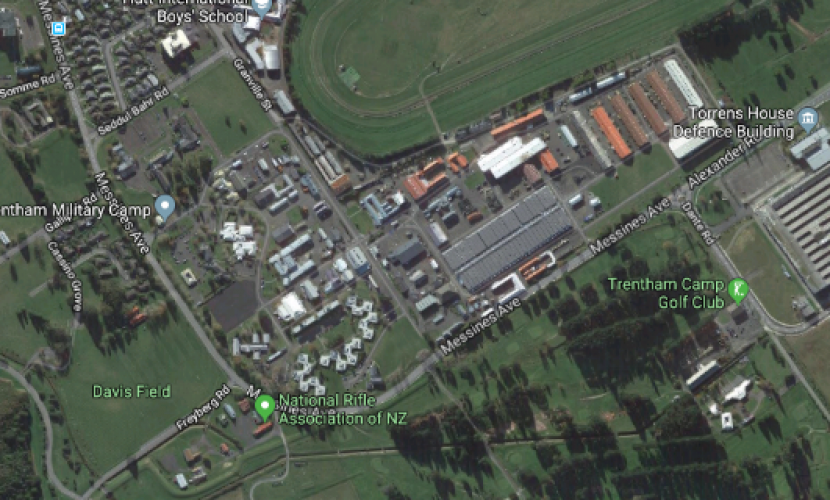
296 Bel Hamed Drive Trentham Military Camp Upper Hutt, street sign 2018
Reason for the name
This street was named after the World War 2 battle in the Bel Hamed area of the western desert. Most streets within NZDF Camps and Bases are named in honour of prominent people, battles, campaigns, ships, aircraft and places creating a rich history of our military service.
In November 1941 the 2nd NZ Division entered the fray in Operation Crusader, designed to relieve the siege on the port of Tobruk in Libya and defeat the Axis force which had driven east into Egypt. In this confused battle about 700 New Zealanders were taken prisoner when their units were overrun, most notably at Sidi Rezegh and Belhamed. But the outcome was satisfactory, the link up was made with Tobruk, and Rommel’s forces retreated.
Author: The Poppy Places Trust
Operation Crusader
With Allied attention focused on Greece, General Erwin Rommel transformed the situation in Africa. Driving east, he forced the Allies back into Egypt, leaving an Australian Division besieged in the Libyan port of Tobruk. After two unsuccessful attempts to relieve Tobruk, General Claude Auchinleck, C-in-C Middle East, decided to launch Operation Crusader – a large-scale infantry and armoured offensive designed to crush the Afrika Corps and lift the siege. This operation would provide the setting for the New Zealand Division’s first foray into the desert.
Operation Crusader was a victory of sorts, but it came at a heavy price. Rommel smashed the British armour and inflicted heavy losses on the infantry in front of Tobruk. Despite these tactical successes, equipment and supply shortages forced him to pull back to El Agheila, leaving the battlefield to the battered British 8th Army. British forces were able to relieve Tobruk and headed westwards in pursuit.
Freyberg's men had fought well in their first desert battle. As British and German tanks clashed further south, the New Zealanders advanced toward the coast – taking Fort Capuzzo and pressing on towards the towns of Sollum and Bardia. The New Zealand Division dispersed at this point to cover different areas – 5th (NZ) Brigade was to cover the enemy garrison at Sollum; 4th (NZ) Brigade moved north to isolate Bardia; while 6th (NZ) Brigade was directed westwards to the Sidi Rezegh escarpment, about 40 km south-east of Tobruk. On 23 November 6th Brigade suffered heavy casualties trying to capture Point 175, with 25th Battalion losing over 100 men – the worst casualties suffered by a New Zealand battalion in a single day during the whole war.
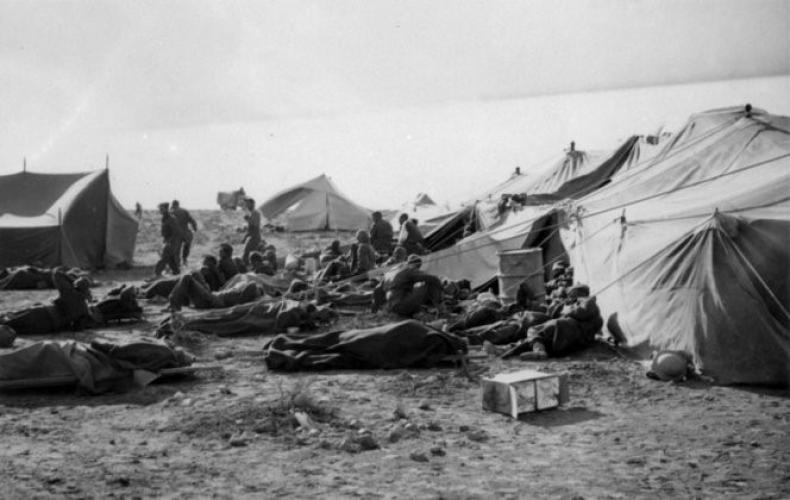
More bad luck was to befall the New Zealanders. Rommel, falling back after an unsuccessful attempt to relieve Axis units around the Libyan-Egyptian border, ran straight through New Zealand lines from the south-west, overrunning 5th Brigade headquarters in the process. Several New Zealand battalions also suffered heavy casualties as German tanks swept over the escarpments at Sidi Rezegh and Belhamed. For the third time that year thousands of New Zealanders went into captivity – but unlike those captured in Greece and Crete, who were taken to Germany and Yugoslavia, these men were destined for prisoner of war (POW) camps in Italy.
Preparation for the Belhamed engagement is described by Colonel Kippenberger.
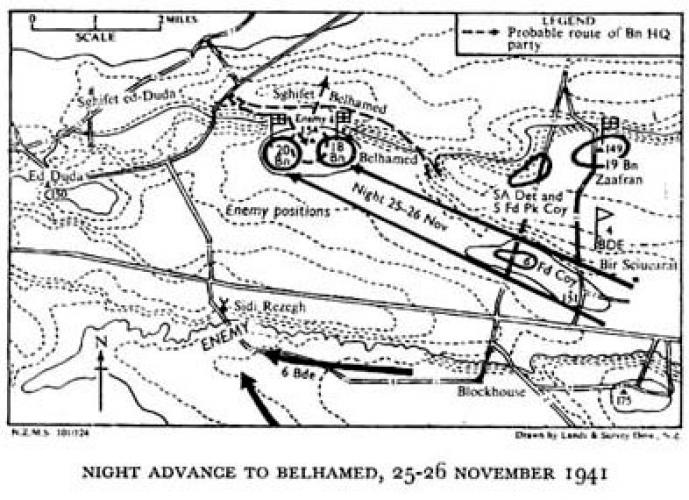
At dusk a warning order was received from Brigade for a night attack and the night's patrols were cancelled. Companies closed in to a battalion laager and were given a hot meal. Inglis's orders were short and to the point. 18 and 20 Battalions were to seize and hold Belhamed, I was to be in command, make the arrangements, and continue to command on the hill after its capture. 6 Brigade was attacking along Sidi Rezegh and we were to advance simultaneously with them at 9 o'clock. There was no question of artillery support; it had to be a straightforward night attack with the bayonet. The guns would, however, fire small concentrations at intervals to help us keep direction.
Belhamed was another escarpment, very steep on the northern side and then falling away very gently for four miles to the foot of Sidi Rezegh. On our approach we would have to cross a wadi running at an angle to our line of advance and then ascend a moderate slope. I expected difficulty in keeping direction for the 6,000 yards of the advance.
Inglis gave me precise objectives and then rather soberly wished me luck. Jan Peart was commanding the Eighteenth, and he and I discussed the plan of attack. We settled on a start-line and Paddy Boyle went off to lay it and guiding tape for the battalions to move up on, no easy task. We decided to attack with the two battalions side by side, Eighteenth on the right, each with two companies forward extended to four paces, the other companies following similarly extended 400 yards behind.
The start of the actual attack is described by Second-Lieutenant Wilson of D Company:
The going was comparatively flat except for a wadi running across the line of the advance at an angle. After about 600 yards the forward posts of the enemy were encountered. As we advanced we came upon row after row of machine guns but we just went through everything. At the first bursts of tracer men halted, crouched for a second, but without going to ground, and then ran in under the tracer with the bayonet. Some Germans surrendered when approached, dropping their guns just when they would have been effective at close quarters, some ran, but others drew pistols or picked up rifles and tried to club with them. It was a wild night. My platoon went forward with cries of ‘Otago!’ and giving no quarter. Numbers of the enemy were without boots and had obviously not expected to be attacked…. Casualties had been comparatively light.
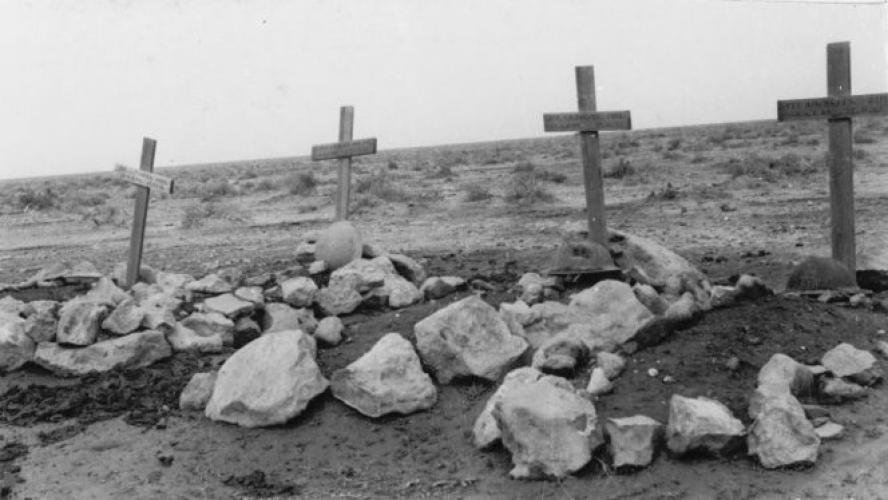
In the aftermath of Crusader, the New Zealanders licked their wounds back in Egypt. With 879 dead and 1700 wounded, the New Zealand Division had fought its most costly battle of the war. In February 1942, at the New Zealand government's insistence, they moved to Syria to recover.
On a number of occasions in November–December 1941 during Operation Crusader, New Zealand battalions or field regiments were left exposed to the enemy when armoured support failed to materialise; disasters at Sidi Rezegh and Belhamed were the most notorious examples. Confronted by enemy tanks, units had no option but to throw up their hands and surrender. Altogether 2042 men of 2 New Zealand Division became POWs in this battle.