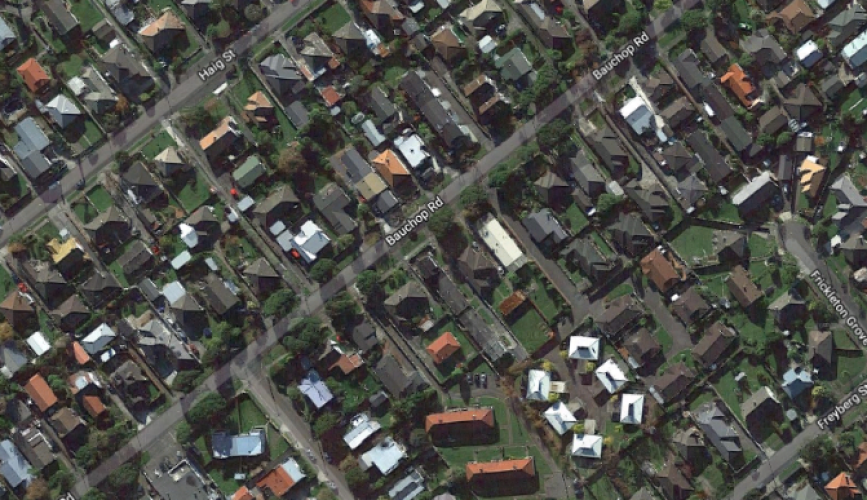
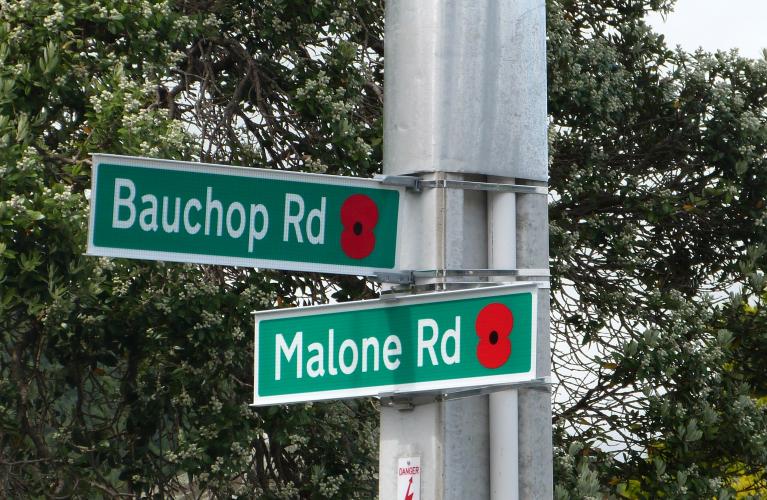
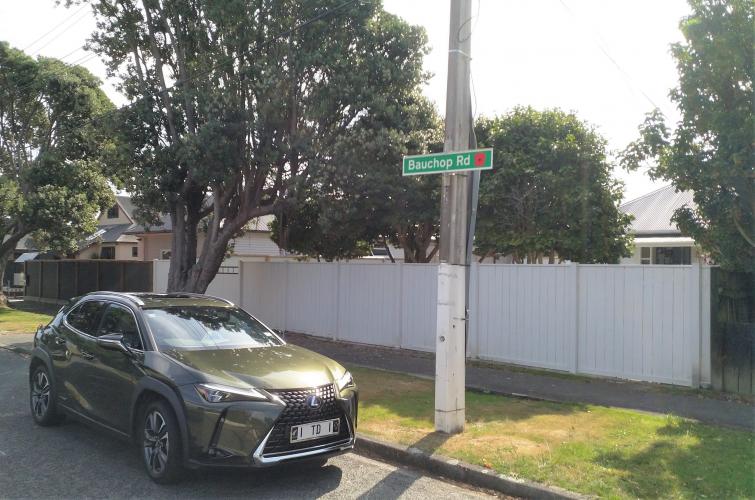
157 Bauchop Road Lower Hutt, street scene 2021
Reason for the name
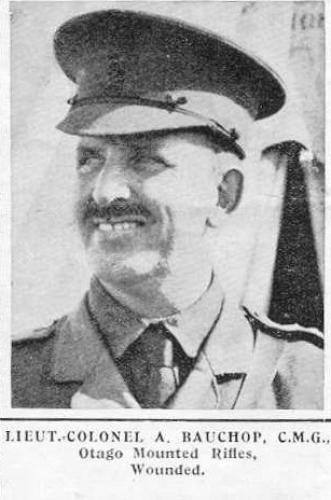
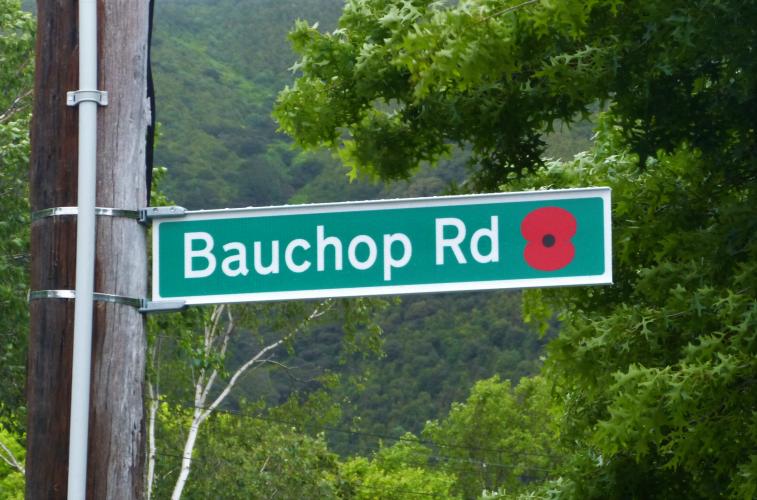
This street was named in honour of a battle in the Sari Bair offensive. The fifth battle (Bauchop’s Hill) proved tough to crack, with the Otago Mounted Rifles suffering some 100 casualties in taking it, and losing their commanding officer, Lieutenant-Colonel Arthur Bauchop.
The Gallipoli campaign – The Sari Bair offensive. As the futile attacks continued at Helles, the Allies began looking at alternative strategies to break the deadlock. Lieutenant-General Birdwood, the ANZAC commander, formulated a plan to break through the Ottoman lines at Anzac and seize the heights of the Sari Bair range. Lieutenant-General Hamilton had given up on breaking out at Helles and seized upon Birdwood’s idea. He expanded the plan to include landing two British divisions at Suvla Bay, 8 km north of Anzac Cove, and launching diversionary attacks at Cape Helles.
At Anzac Cove, the task of carrying out the assault on Sari Bair fell to the New Zealand and Australian Division, the newly arrived British 13th (Western) Division, 29th Indian Brigade, and part of the 10th (Irish) Division. Major-General Godley assumed overall command of this force.
The success of Hamilton’s plan rested on timing and speed. While the Australians made a diversionary assault to distract Ottoman attention, two columns of men would advance up the Sari Bair range and capture the three key high points of Chunuk Bair, Hill Q and Hill 971 (Koja Chemen Tepe) during the night of 6-7 August. At dawn, a joint assault on the Nek from New Zealand and Australian forces on Chunuk Bair and Russell’s Top would complete the capture of the whole ridge as far as Hill 971.
The August offensive opened on 6 August with an Australian attack on Lone Pine, at the southern end of the Anzac perimeter, and diversionary British and French attacks at Helles. While Helles was a costly failure, Lone Pine proved more successful. Four days of savage fighting secured the area for the Australians at the cost of more than 2000 casualties. While the attack sucked in some Ottoman reserves, this proved counterproductive, for they redeployed on the Sari Bair range.
Godley’s attack began after dusk that night. As soon as it was dark, two covering forces moved out to capture the foothills over which two assault columns would move to seize Chunuk Bair, Hill Q and Hill 971. Everything went to plan initially. On the right, New Zealand Mounted Rifles units and the Native Contingent captured four of the five key features assigned to them – Old No. 3 Post, Big Table Top, Destroyer Hill and Little Table Top. The fifth (Bauchop’s Hill) proved tougher to crack, with the Otago Mounted Rifles suffering some 100 casualties in taking it, and losing their commanding officer, Lieutenant-Colonel Arthur Bauchop.
Author: Poppy Places Trust
Journey of the Otagos. Retracing the steps of the Otago Infantry Regiment and Otago Mounted Rifles in WW1. From Lone Pine to Hill 60.
“Well, what a day. We decided to really go hard today and try and capture as many of the targeted spots as we could. We were up on the ridge line at Lone Pine by 8am and kept going solidly for the next ten and a half hours. Lone Pine was an interesting place to start since it is so important to the Australians but it also has a section commemorating New Zealanders whose loss is not recorded elsewhere on the Peninsula. Oddly enough that includes Lt Col Arthur Bauchop, CO of the Otago Mounted Rifles even though he died away down to the north of the Anzac sector, about as far away from Lone Pine as you could get. He died in the attack of 6 August, it’s true, and it was that attack that saw the storied efforts of the Australians here (seven VCs were won in their taking of Lone Pine) but even so, an odd spot to find his name.”
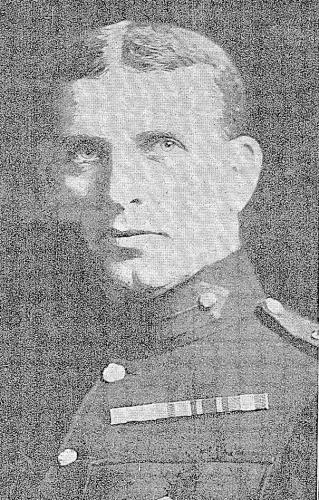
Arthur Bauchop,
Service Number: 9/534
Name: Arthur Bauchop
Rank: Lieutenant Colonel
Date of Birth: 1 February 1871
Next of Kin: Mrs Bauchop (wife), care of D. Hines, Chatham, near Canterbury, England
Date of Enlistment: Not known
Enlistment Address: St Clair, Dunedin, New Zealand
Armed Force: Army
Unit: NZEF, New Zealand Mounted Rifles Brigade, Otago Mounted Rifles, (Commanding)
Cause of Death: Died of wounds, on H.M.H.S. "Delta,"
Date of Death: 10 August 1915
Day of Death: Tuesday
Age at Death: 44
Conflict: WW1
Embarkation Body: Main Body
Embarkation Place: Port Chalmers, New Zealand
Embarkment Date: 16 October 1914
Transport: HMNZT 9
Vessel: Hawkes Bay
Destination: Suez, Egypt
Cemetery: Lone Pine Memorial
Cemetery Reference: 72
Cemetery Location: Turkey